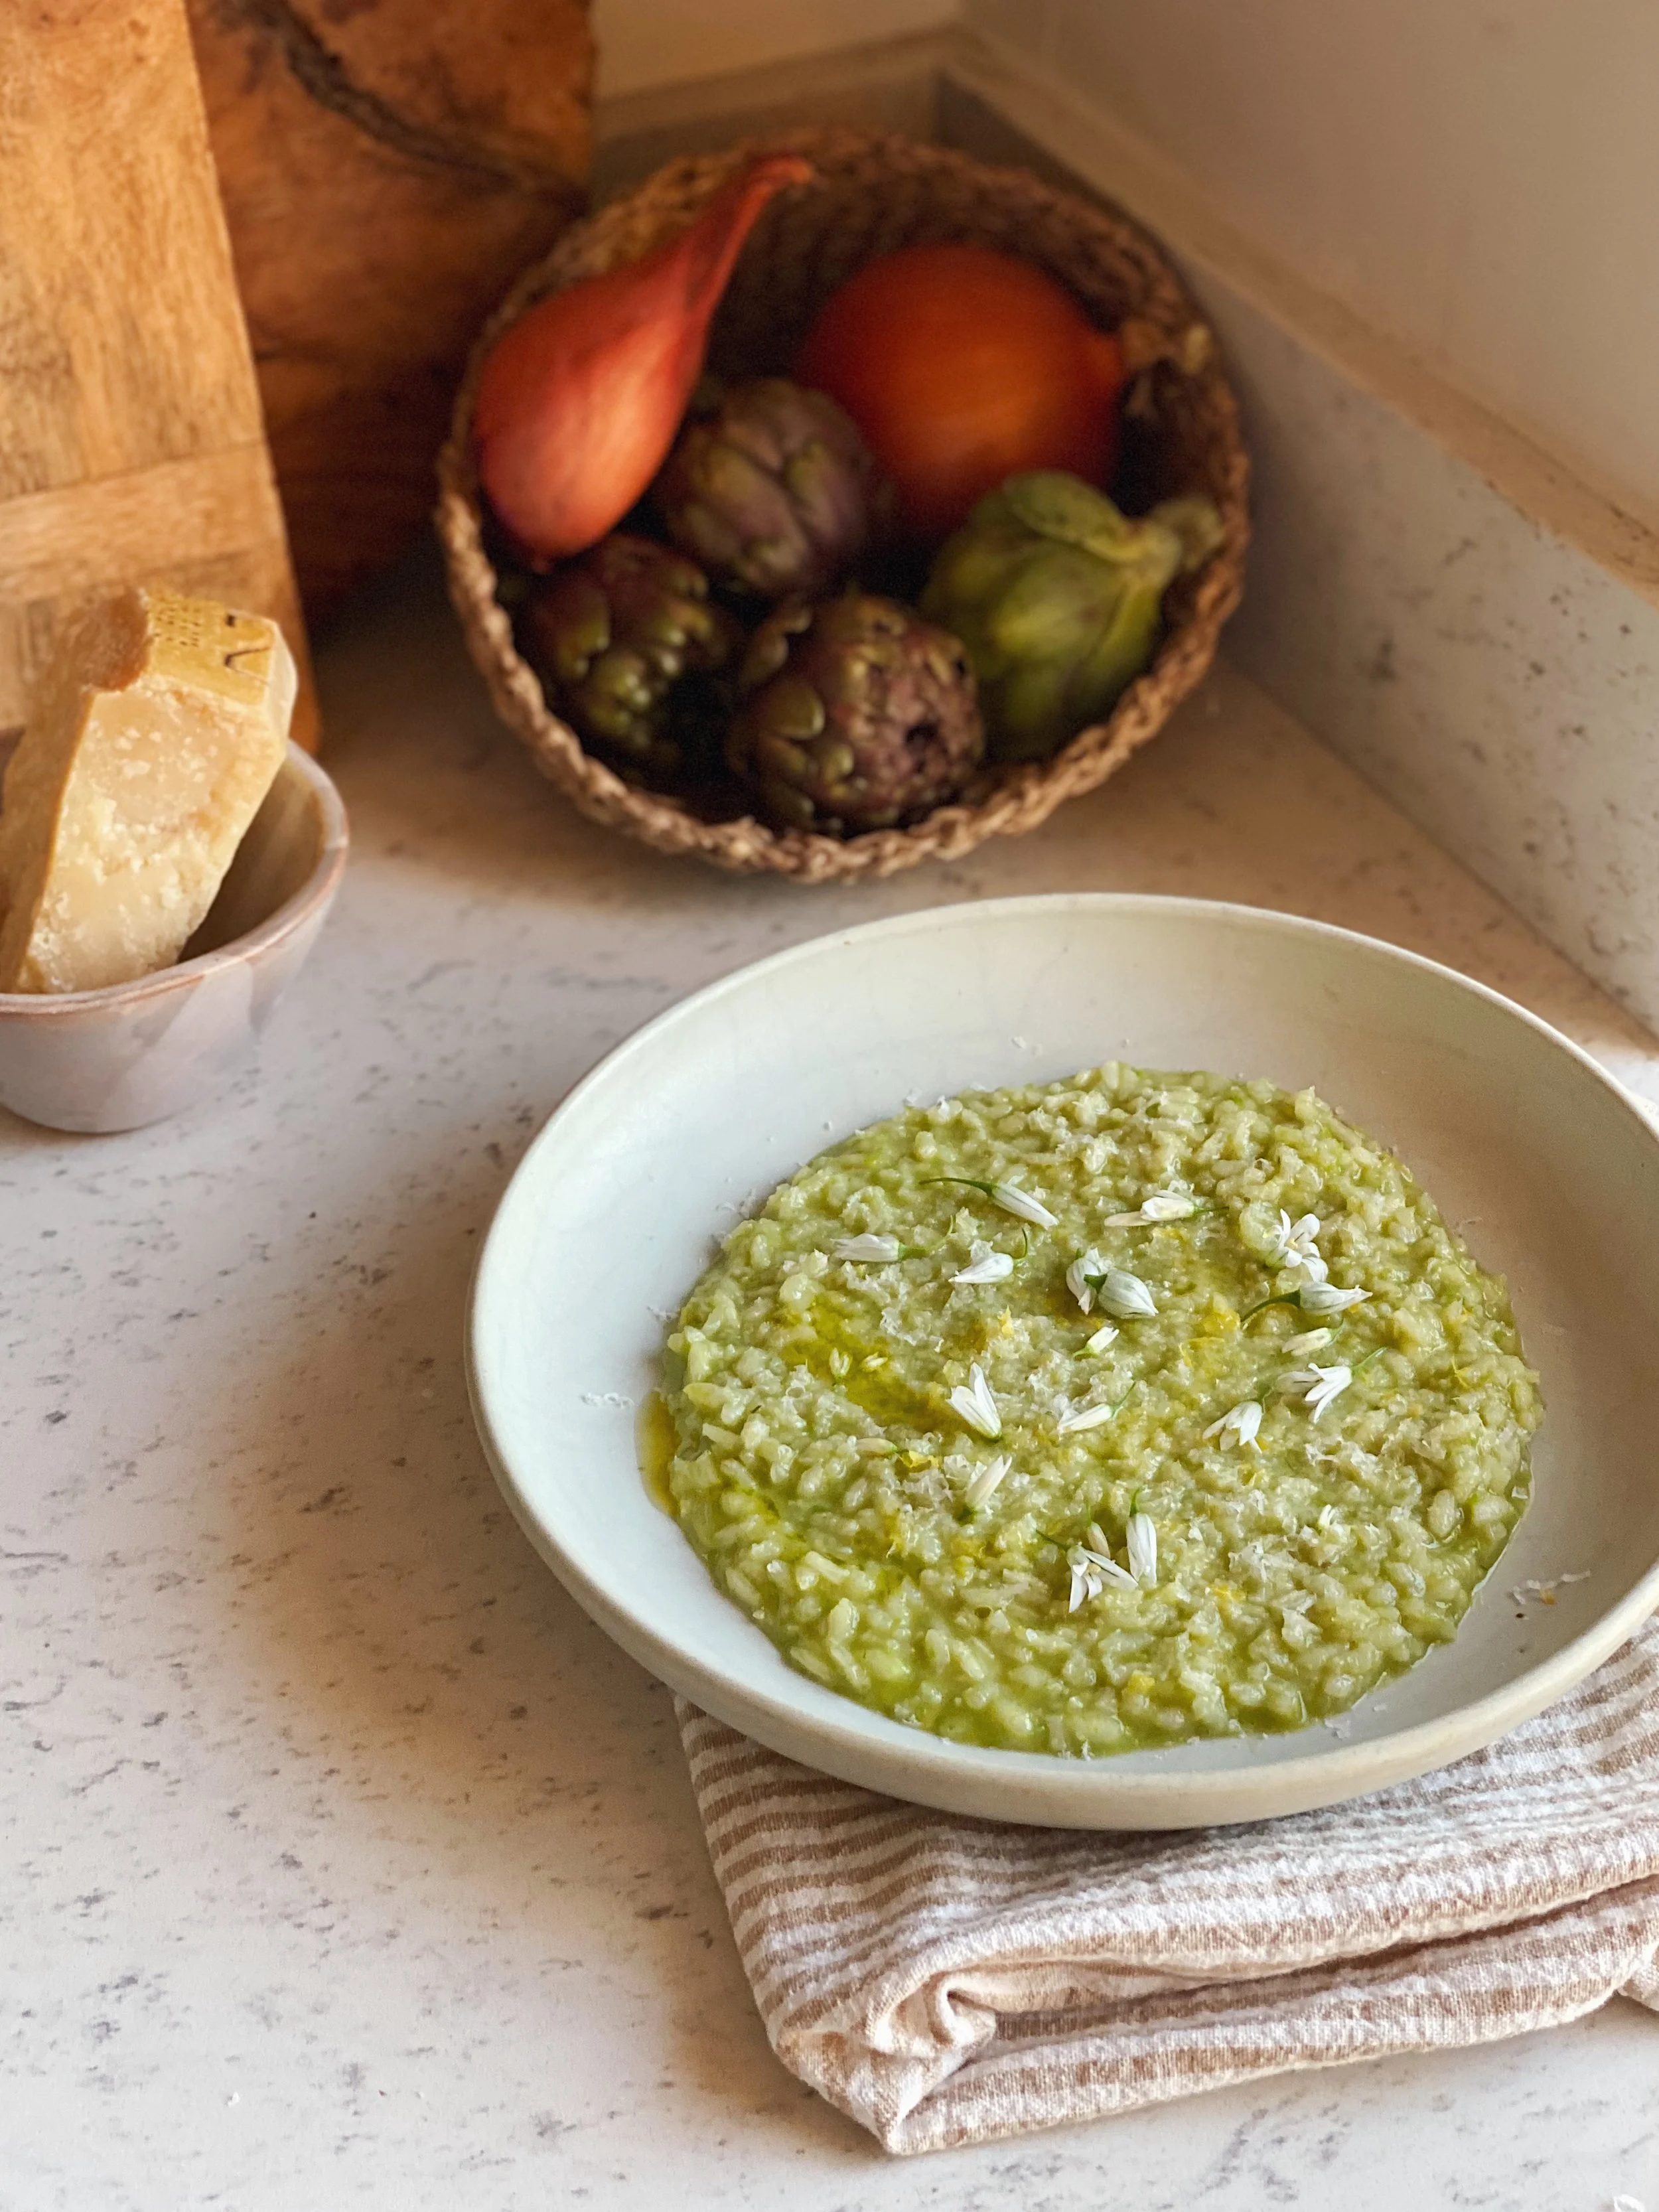
Springy Pea & Meyer Lemon Risotto
It’s been agesss since I’ve been to the Ferry Building Farmer’s Market in San Francisco and it felt SO good to be back. I was beyond inspired by all of the spring produce overflowing at every farmer’s stand. I grabbed some leeks, wild garlic, green garlic and meyer lemons and was so excited to come home to develop this recipe.
Risotto is one of my absolute favorite foods and this version is spring in a bowl. It’s bright, fresh and bursting with some of my favorite flavors. If you can’t find green garlic you can, of course, use regular garlic! Regular lemons work in lieu of meyer lemons as well.
Let me know if you give this one a try and happy cooking!
Serves 6-8
INGREDIENTS
For the lemony pea puree:
1 medium leek, minced
2 stocks green garlic or 2 cloves regular garlic, minced
1 tsp olive oil
Kosher salt
1 cup frozen peas, thawed
2 Tbsp crème fraîche
Zest and juice of 1 meyer lemon
1/4 cup chicken stock
For the risotto:
2 quarts stock (I prefer chicken but you can use vegetable too)
6 Tbsp butter, divided (can use salted or unsalted)
2 medium shallots or 1 medium yellow onion, minced
2 cups Arborio or Carnaroli rice
1/2 cup white wine
1 cup grated Parmesan cheese + more to finish
Zest from 1 meyer lemon
Freshly ground pepper
Fresh herbs, edible flowers and extra virgin olive oil to finish (optional)
METHOD
Make the lemony pea puree
Heat the olive oil in a medium sauté pan over medium heat, then add the minced leeks, garlic and a pinch of kosher salt. Cook for 2-3 minutes until the leeks and garlic are soft.
Add the sautéed leek/garlic mixture, peas, crème fraîche, lemon juice, lemon zest and stock to a blender and blend until smooth. Taste and adjust salt as needed. Set aside while you cook the risotto.
Make the risotto:
Bring the stock up to a simmer in a large pot on the back burner. Turn off the heat and put the lid on to keep warm.
Meanwhile, heat a large saute pan over medium-low heat and add 4 Tbsp of the butter. Once the butter is melted, add the shallot or onion and a pinch of kosher salt. Cook until the onion is soft but not brown, 2-3 minutes, stirring occasionally.
Add the rice to the softened onions. Stir to coat the rice with the butter and cook for a couple of minutes until the rice has turned opaque. You don’t want to brown the rice, so turn down the heat, if necessary.
Add the wine and stir. Once the rice has absorbed the wine, add a ladle-full (about 1 cup) of the warm stock. Stir every couple of minutes. The heat should be medium-low at this point. You want the liquid to be gently simmering. Once the majority of the stock has been absorbed by the rice, add another ladle-full of stock.
Continue this process – adding a ladle of stock, stirring often but not constantly, and waiting for the rice to almost completely absorb each addition of stock before adding the next. Do this until all of the warm stock has been added and absorbed and the rice is cooked to al dente (has a little bit of a bite to it). This will take 20-30 minutes. See the notes section below for what the final product should look like!
Turn off the heat and stir in the grated Parmesan cheese, remaining 2 Tbsp butter, lemon zest and reserved lemony pea pure. Add kosher salt and freshly ground pepper, to taste.
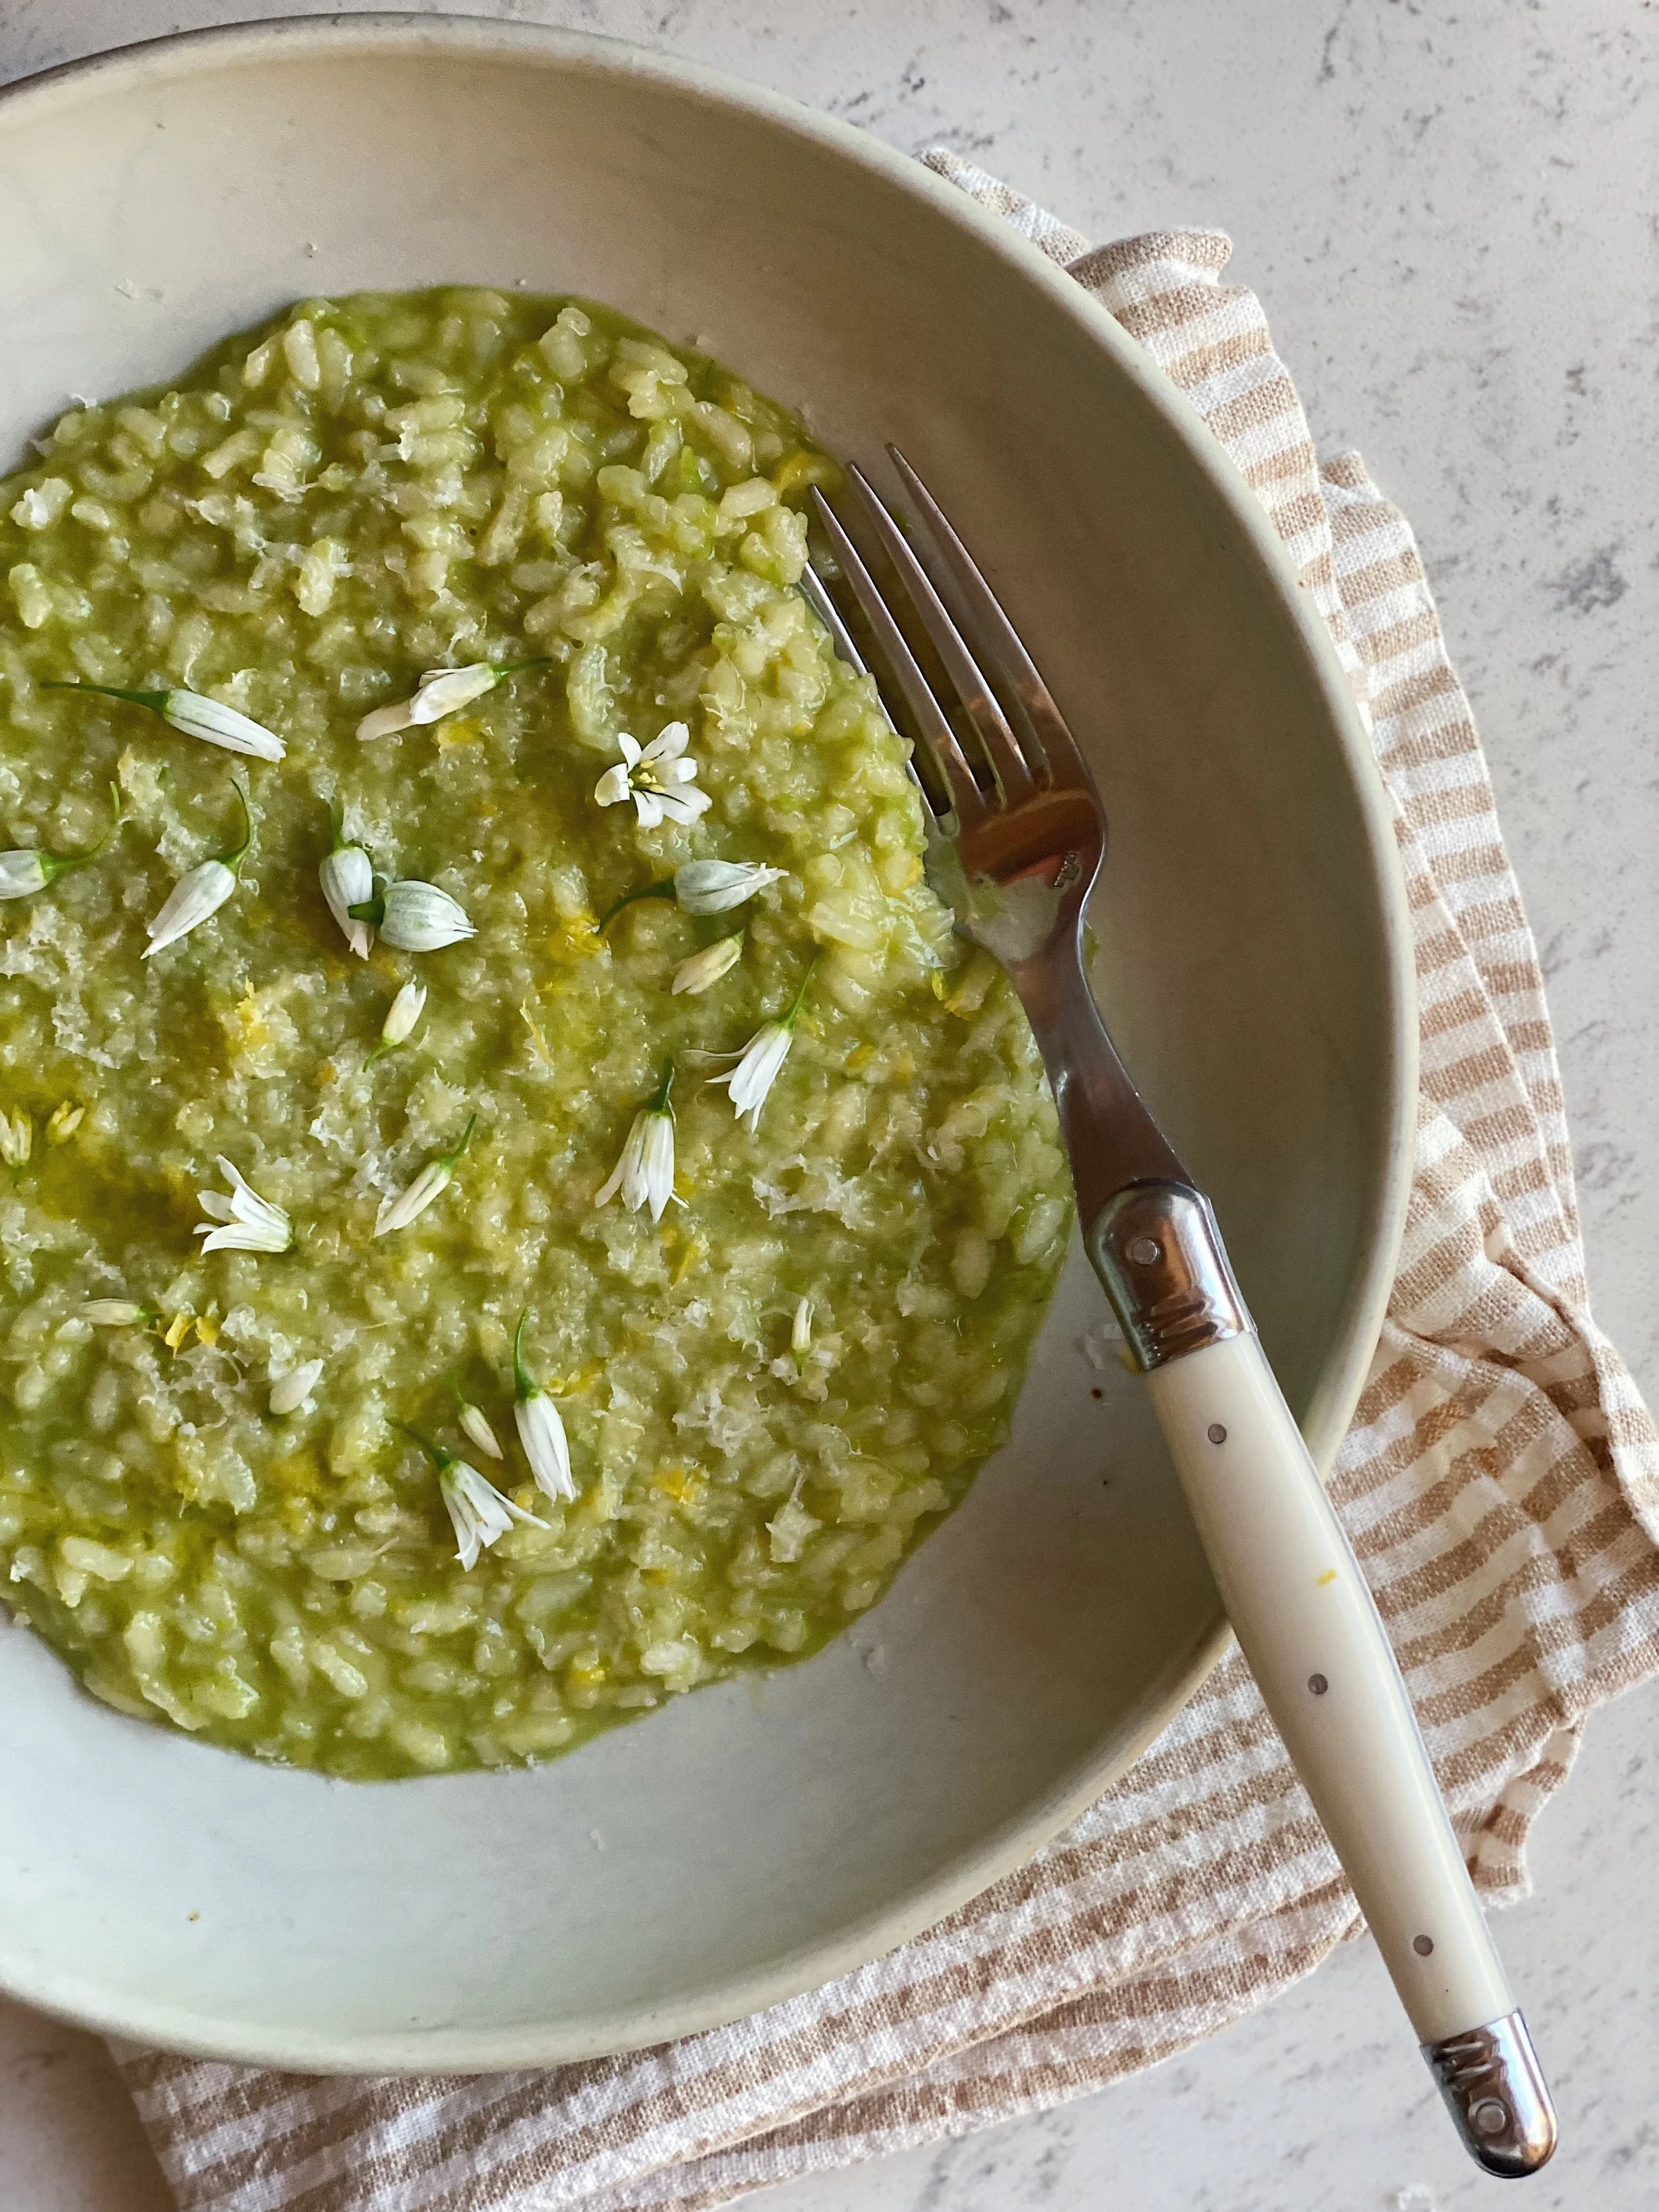
Serve in bowls topped with optional fresh herbs and/or edible flowers, more parmesan cheese, lemon zest and a drizzle of extra virgin olive oil. Enjoy!
NOTES
I want to call out a few quick key things we learned about risotto in culinary school. I think these nuggets are super valuable and they help you achieve restaurant-quality risotto at home!
Butter – risotto is a traditional Northern Italian dish and Northern Italy is green and lush, which makes it a prime place for cattle + livestock to live. Because of this, they have more access to milk (and butter), so Northern Italian dishes traditionally use butter as the fat. This is why a traditional risotto is made with butter instead of olive oil. You can of course use olive oil if you prefer or have it around but thought this was really interesting!
Rice – you want to use a short grain white rice for risotto. The short grain rice has a lot of starch content and it can absorb a lot of liquid. Both are key factors to a creamy, luscious risotto. The two more widely available types of short grain rice in the US are Carnaroli (my personal fav!) and Arborio.
Coating the rice in butter – it’s really important to cook the rice in the butter/softened onion mixture for a few minutes (until the rice grains are white/opaque) before adding the wine and broth. That said, you don’t want to brown the rice during this process, so adjust the heat accordingly. By coating the rice in the fat for a little bit, you’re creating a barrier of butter on the outside of the rice, which helps the rice slowly absorb the broth over the course of cooking. This slow absorption of broth is key to a creamy end product.
Stir often, not constantly – risotto is so creamy and luscious because you’re agitating the rice grains as you stir them, releasing their starches. That said, if you stir the rice excessively, it will end up too thick and gummy by the end. You want to stir the risotto every couple of minutes (to prevent sticking and uneven cooking) but you can walk away for a second in between stock additions and let it do its thing too! The end goal (for a traditional risotto) is that you want to be able to see the liquid between the grains of rice in the final product. The risotto should spill out a little when you plate it – it shouldn’t stay put in a thick glob. All that said, if your risotto ends up a little thicker, that’s totally OK – it’ll taste delicious regardless!